Plexを設定する方法(および任意のデバイスで映画を見る方法)

Plex Media Serverは、すべての映画、番組、その他のメディアを1つの場所に保存し、自宅でも外出先でも、どのデバイスからでもアクセスできるようにするユーザーフレンドリーな方法です。あなたがどこでもあなたの映画を見る頭痛のない方法を探しているなら、これはそれです。
Plex Media Serverとは何ですか?
これは、非常に多くの人が遭遇する一般的な状況です。音楽、映画、テレビ番組、さらには写真などのメディアファイルがありますが、豊富で多様なデバイスでそれらに簡単にアクセスする簡単な方法はありません。
ブルーレイのリップをラップトップにコピーしますか?お使いの携帯電話はどうですか?ファイルを小さくして互換性があるように変換しますか?デスクトップとChromecastを介して番組をテレビに放映しますか?すべての写真をiCloudアカウントにアップロードして、Apple TV経由でテレビに送信しますか?あなたの音楽はどうですか?出張で家を離れていて、テレビ番組をiPadにストリーミングしたい場合はどうでしょうか。
メディアの管理に多くの経験を持つ真面目なオタクでさえ、すべてのデバイスが同じコレクションに話しかけたりアクセスしたりするのは非常に苦痛です。それはありません 持っているけれども、そのようにします。Plexは、大規模なパーソナルメディアコレクションの管理中に発生するほぼすべての問題を排除する集中型メディアサーバーシステムです。
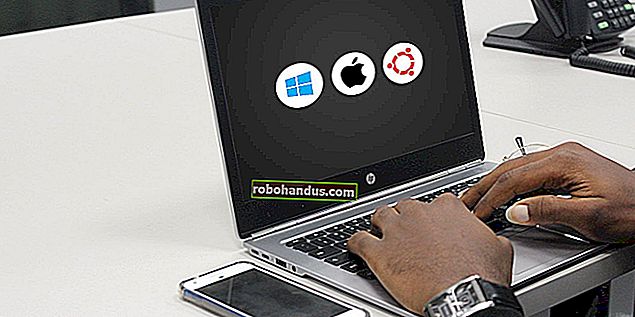
Plexモデルは単純です。Plexサーバーソフトウェアがインストールされた単一のコンピューターにすべてのメディアを駐車してから、他のすべてのデバイスにPlexをインストールします。 Windows、Linux、Macのコンピューターだけでなく、AndroidやiOS、XboxやPlayStationなどのビデオゲームコンソール、Apple TVにインストールできます。また、Plexが組み込まれたスマートTVもあります。これらのデバイスを使用すると、メディアライブラリ全体にリモートでアクセスして、手間をかけずに視聴できます。

さらに、Plexモデルはサーバー/クライアントモデルであるため、ファイルをさまざまなデバイスにコピーしたり、再生品質、ビデオ解像度、その他の詳細などの問題に対処したりすることを心配する必要はありません。 Plexサーバーは、すべてのメディアコンテンツをその場でトランスコードするため、使用しているどのデバイスでも正しく再生されます。 iPhoneの裏庭でテレビ番組を見たいですか?問題ない。あなたの義理の家であなたのラップトップでそれを見たいですか?また問題ありません。追加のハードウェアなしで、新しいスマートTVをメディアコレクションに直接接続したいですか?適切なテレビを購入すれば、それも問題ありません。つまり、Plexを実行することは、独自の洗練されたストリーミングサービスを実行するようなものであり、ライブラリを管理するのはあなたです。
それはかなり素晴らしいですね。すべてのデバイスへのオンデマンドストリーミングを利用できるだけでなく、それに合わせて非常に美しいメタデータとアートを利用できます。

開始するために必要なものを詳しく見てから、Plex用のメディアコレクションの準備、Plexのインストール、そしてPlexメディアコレクションへのアクセスにすぐに取り掛かりましょう。
必要なもの
Plexは本当に洗練された製品であり、一度起動して実行すると、頭痛の種はほとんどありません。ただし、最も重要なことは、必要なものと、Plexセットアップのすべての部分がどのように連携するかを明確に把握して体験することです。
家はサーバーがある場所です
何よりもまず、すべてのファイルを格納し、Plex MediaServerを実行するコンピューターが必要です。 Plexは、Windows、Linux、OS X、さらにはFreeNASなどの専用サーバーソフトウェアやSynologyシステムなどのNASハードウェアにインストールできます(Media Serverアプリでサポートされているすべてのプラットフォームをここで確認できます)。ただし、選択するプラットフォームに関係なく、常に電源がオンになっているコンピューターである必要があります。アクセスするときにコンテンツがオフラインの場合、すべてのパーソナルメディアのニーズに対応する包括的なストリーミングソリューションを用意しても意味がありません。
常にオンになっていることに加えて、前述のトランスコーディングを処理するために、サーバーコンピューターに適切な量の処理能力を持たせる必要があります。一度に視聴する予定のユーザーが多いほど、より優れたハードウェアが必要になります。Plexメディアサーバーは引き続き古いハードウェアで動作しますが、ハードウェアが不十分な場合は自動的にトランスコーディングが無効になり、実際に古いハードウェアや電力不足のハードウェアでは再生が困難になり、途切れます。
したがって、できるだけ多くのCPUを搭載する必要があります。Plexは、少なくとも2GBのRAMを搭載した少なくともIntel i3プロセッサ(または同等のもの)以上を推奨します(RAMはPlexにとって特に重要ではありません)。ここで彼らのハードウェアの推奨事項を読むことができます。
最後に、あなたが持っているすべての映画、テレビ番組、音楽、写真を保存するのに十分な、たくさんのハードドライブスペースが必要になります。
使用していないハードウェアをすでに敷設している場合は、ぜひ試してみてください。最悪のシナリオでは、ファイルの再生が不十分であることがわかります。最良のシナリオでは、古いハードウェアが正常に機能し、新しいギアの購入を回避できます。
サーバーソフトウェアで利用可能なプラットフォームは、こちらで確認できます。
すべてのデバイスのクライアント
サーバーはPlexシステムの半分にすぎません。残りの半分は「クライアント」アプリ、つまりすべての視聴を行うアプリです。サーバーのWebベースのコントロールパネルからメディアを再生できますが、それはWebブラウザでNetflixを視聴するようなものです。ほとんどの人は、居間に座ったり、モバイルデバイスで視聴したりすることを好みます。そのためには、サーバーにアクセスするためにPlexクライアントが必要です。

You can find a Plex app for just about every platform you can imagine: Android, iOS, Windows Phone, Apple TV, Roku, and more. One thing that has been a source of perennial confusion regarding Plex is whether or not it is free–and a big amount of this confusion hinges on the fact that the mobile apps have an “activiation fee”.
The Plex media server software has always been free. Most of the client apps have always been free. Some of the client apps have a nominal one time activation fee a few dollars (e.g. the iOS Plex client app costs $4.99).
Plex has two ways of dealing with the paid apps. If you only need one app, you may wish to just activate that single app. The other option is to buy a Plex Pass, which is like a subscription service that gives you both access to all paid apps, plus benefits like syncing to your mobile devices for offline access and cloud-based file storage. If you need many apps across multiple platforms and you want the premium features, you might consider the Pass subscription for $4.99 a month or a $149.99 lifetime pass.
You can read more about which apps are paid, which are free, and the differences between a free Plex membership and a premium one here. To check platform availability and download a client app for your platform, check out the Plex downloads page here.
Now that we’ve looked at the general guidelines for selecting a device for your Plex server, and how to get the client software, let’s look at the rather important step of organizing your media.
Step One: Consolidate and Organize Your Media
Plex works best if all your media content is well organized and in the same place. To that end, you should have all your media on the same device you’re installing the Plex server software–whether it’s an old desktop computer, a dedicated storage server in your basement, or a NAS device, all your media should be on it.
Further, you want to organize your media into a clean folder structure that keeps major media types separated and easy for both you and Plex to parse through.
If you’ve already invested any time in organizing your media, especially if you’ve used media center software like XBMC/Kodi in the past, then there’s a good chance you’ve already got a perfect (or nearly perfect) folder structure in place.
Here’s a simple example of a best-practice directory structure for Plex:
/Media/ /Movies/ /MovieName (Year)/ MovieName (Year).ext /Music/ /ArtistName - AlbumName/ Track# - TrackName.ext /TV Shows/ /ShowName/ /Season 01/ ShowName - s01e01.ext /Photos/ /Album Name/ Image.ext
In the above directory structure, you see that the major media categories are separated into distinct sub-folders (like Movies and TV Shows) and that each media type has a pretty straight forward naming convention. Movies go in folders named after the movie; best practice is to include the year in parentheses to cut down on confusion. Music is organized in a straight forward Artist Name/Album Name format. TV shows are organized by the name, season, and episodes are tagged with both stats with the “sXXeXX” format. Photos are even easier–Plex just reads the album name off the folder and loads up the images inside.
While the above examples cover pretty much 99% of the territory you may find you need a little extra guidance when naming DVD .ISO files or other less common formats. If you need additional help cleaning up your media check out the Plex guide to media preparation here. (Update: This guide has vanished from Plex’s current website, but the link we provide will take you to an archived version of the guide.)
A final note on organizing your media for Plex: if you’ve used or are currently using another media center software (like XBMC), don’t worry about your metadata. You can safely run XBMC and Plex completely in parallel with no risk to your metadata, as neither application uses the same metadata files.
Step Two: Install Plex Media Server
The foundation of the setup, beautifully organized media aside, is the Plex Media Server application. For our tutorial today we’ll be installing it on a Windows machine but, small nuances aside, the installation process is practically identical across all platforms as the majority of the process is done from within the Plex web-based control panel.

Head over to the downloads page and grab a copy of Plex Media Server for your platform. Run the installer and relax for a minute. When the installer is complete, Plex will automatically launch, and should load the web control panel for you. If it does not, open your web browser and navigate to //127.0.0.1:32400/ on that computer. (Alternatively, you can access it from another computer on your network by replacing the 127.0.0.1 address with the local network IP address of your computer or NAS device).
After accepting the user agreement, you’ll be prompted to sign into your Plex account. On the off chance that you have an old Plex account from previous experiments with the platform, sign in. Otherwise, click on the “Sign Up” link and sign up for a new account.

After your first sign in, you’ll get a rundown of all the features of the Plex Pass premium service. While we happen to think the premium service is pretty great, let’s not get ahead of ourselves–use Plex for awhile to determine if you want to invest in it. Close out the popup window to return to the server setup.
The first step is to name your server. By default, the server is named after the network name of the machine upon which it is installed. You can change the server name to something more exciting than say “Dad Office” or leave it as is.

Next, it’s time to add media to our library. Select “Add Library”.

Here you can add many different library types: movies, TV shows, music, photos, and home videos.

Let’s start off by adding some movie files. Select “Movies” and then, in the drop down menu that appears, name your movie library and select a language. For most people leaving the default name of “Movies” should suffice. Click “Next”.

Now it’s time to point Plex at the actual files, select “Browse for media folder” and select the folder that houses your movie files. Once you’ve selected the folder(s), click “Add library” to complete the process.

Repeat these steps for TV shows, music, and/or photos. It isn’t necessary to populate all the libraries, ofo course–if you’re using Plex solely for TV shows, then go ahead and ignore all the other library entries.
The final step of the initial server setup is to allow remote access to your media server and send anonymous data to Plex. Both are checked by default, and we recommend you leave them checked unless you have a pressing reason to uncheck them. Select “Done”.

At this point you’ll be kicked into the web-based control panel for your Plex server. Depending on how quickly your machine is working, you may see “Updating libraries…” or you may already have content to display like this.

Note, for the first few hours or even for the first day, the “recently added” section isn’t particularly useful as everything was recently added to the library. Things will calm down shortly and recently added will become useful again over the coming days.
While you can browse through all your media libraries right from the Plex control panel (and even watch content right in the web browser), it’s more useful for checking in on your library and less useful for actually enjoying your content. Let’s look at how you can access Plex with a remote client.
Step Three: Access Your Plex Media Server from Elsewhere
At this point we’ve done all the hard work (and it wasn’t even that hard). Once you have the actual Plex media server up and running, it’s totally smooth sailing. How smooth? Because your entire library is stored on one central server, you can easily tap into it from any computer, smartphone, or other device and get the exact same experience–the same media, same meta data, same recently added list, same database tracking what shows you’ve watched and which ones you need to catch up on.
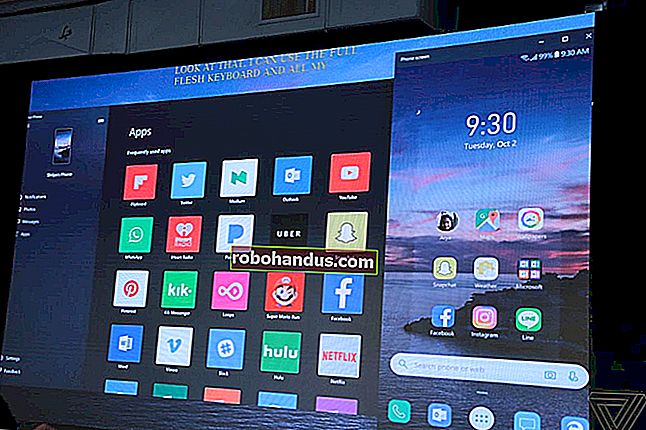
Search for the app in your phone/tablet/TV’s app store, install it, and launch it. Again, we’re using the iOS app, but they’re all essentially interchangeable. Click “Sign In” and use the same credentials you created when you set up your server.

Boom. You are instantly connected to your media collection. Do you see how the screen on our iPhone mirrors, down to the show titles, the screenshot you just saw of the media server control panel?

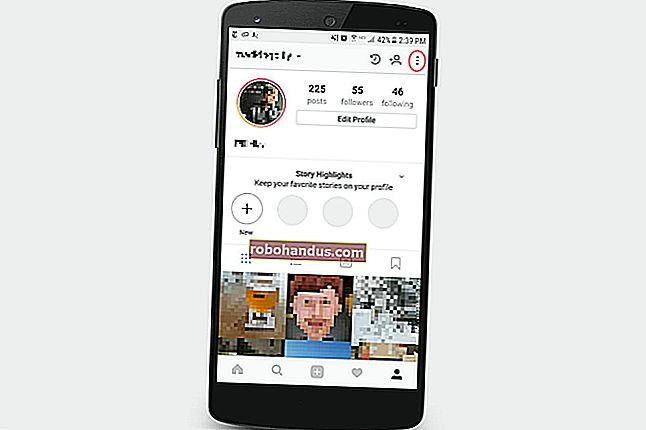
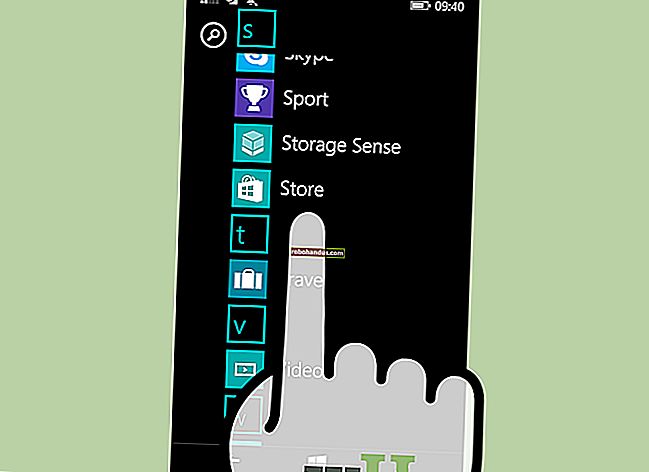
That’s Plex’s strongest element right there: centralization makes everything run so smoothly. If we tap on the “Browse” button, seen in the lower right corner of the screenshot above, we can then select from our available media. Let’s do that and then select “TV shows”.

How about some Family Guy? Why not, we’ll select a season and an episode.

With but a few taps after logging in, we’re watching an episode without a hiccup:

And that’s all there is to it! If you have local media and a desire to watch that local media anywhere in your house (or even away from home) and on any device, Plex Media Center is an all-in-one solution that makes enjoying your movies, TV shows, and even family photos and videos, an absolute breeze.